GUI Deployment of the Data Collector
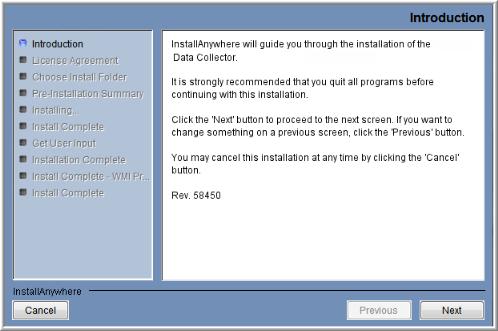
InstallAnywhere will prepare to install the Data Collector software. After checking the available disk space and downloading the installer, an introduction dialog window outlines the installation process.
1. Review the installation process and click Next.
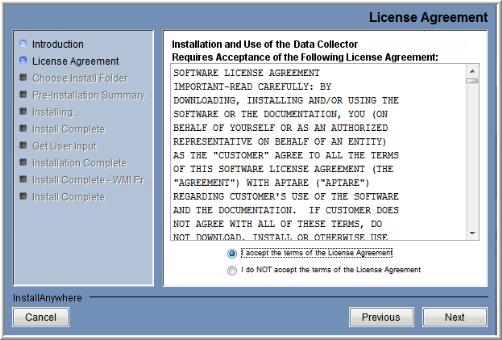
The License Agreement displays for your acknowledgement.
2. Read the agreement and click the “I accept” radio button and then Next.
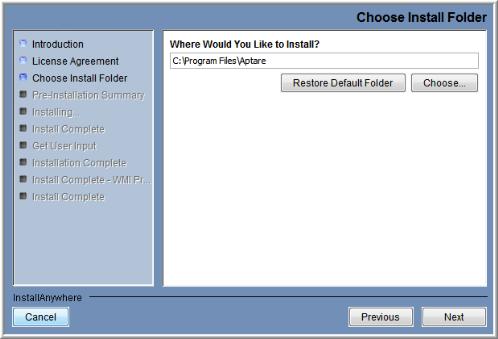
The installer will display a window, which prompts you for an Install Folder.
3. Specify the directory where you would like to install the Data Collector software.
Accepting the default paths is recommended.
Windows default directory: C:\Program Files\Aptare
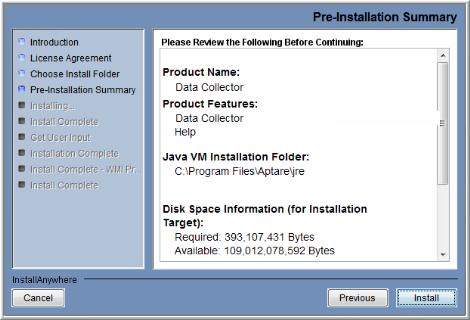
4. Click Next to display the Pre-Installation Summary.
5. Review the summary and click Install. The dialog tracks the installation as it progresses.
6. A Configuration Settings window will prompt you to select a Data Collection Task. The configuration choices are: Data Collector (includes WMI Proxy) or APTARE WMI Proxy Server (only). The Data Collector WMI Proxy selection covers the backup products: IBM Tivoli Storage Manager, Veritas Backup Exec, Veritas NetBackup, HP Data Protector, EMC Avamar, EMC Data Domain, EMC NetWorker, Commvault Simpana, Generic Backup; and the capacity/storage products: EMC Isilon, EMC VNX (CLARiiON), EMC VNX (Celerra), EMC Symmetrix, HP 3PAR, HP EVA, Hitachi Data Systems, Hitachi NAS, NetApp, NetApp E-Series, IBM Enterprise, IBM SVC, IBM VIO, IBM XIV, Host Resources; and also, Brocade Switches, Cisco Switches, McData Switches, VMware, and File Analytics Shares.
A single Data Collector can be installed for multiple products on a single server. When you select a backup product, if you are installing on a Windows server, the WMI Proxy Server is automatically included with the installation. When you select a storage array, the Host Resources setup is automatically included in the installation. The WMI Proxy Server also can be installed individually.
7. Click Next.
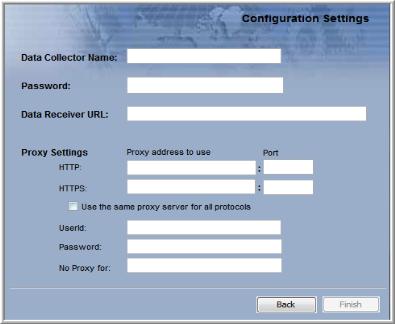
8. Enter the configuration settings for your particular environment.
Field | Description |
Data Collector Name * | A unique name assigned to this Data Collector. This is the name that you used during the Pre-Installation setup. The Data Collector will use this value for authentication purposes. |
Password * | The password assigned to this Data Collector. The password is encrypted prior to saving in the Storage Viewer database and is never visible in any part of the application. |
Data Receiver URL * | This is the URL the Data Collector uses to communicate to the Portal server. The format of this URL should be: http://hbsmagent.yourdomain.com It is similar to the URL you use to access the web-based Portal (http://hbsmportal.yourdomain.com). IMPORTANT NOTE: Be sure to enter the URL with the prefix hbsmagent and NOT hbsmportal. |
Proxy Settings (Optional) | Enter the proxy server details for both http and https, including the User ID and Password for the server. HTTP/HTTPS: Enter a hostname or IP address and a port number. Use the same proxy server for all protocols: Check this box if the proxy server is used for all. User ID & Password: Enter the credentials for the proxy server. No Proxy for: List hostnames or IP addresses that will not be proxied.
Examples: 192.168.1.1/21, localhost |
* Denotes a mandatory configuration.
9. After entering the configuration settings, click Next.
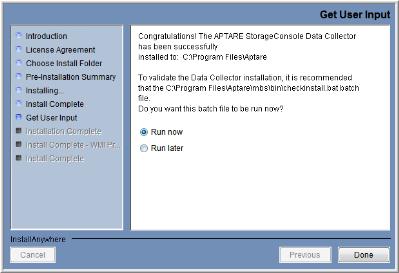
At this point, the Data Collector has been successfully installed, however, to validate the Data Collector installation, it is recommended that you run the C:\Program Files\Aptare\mbs\bin\checkinstall.bat batch file.
10. Choose Run now and click Done in the Get User Input window to validate the installation and then quit the installer.
The InstallAnywhere portion of the installation is now complete and the process continues with the command-line script execution.