Creating New Dashboards and Adding Reports
Dashboards provide a custom, at-a-glance overview by displaying reports you choose on a single page.
To create a dashboard and add reports
1. Search and generate each report you want on your dashboard. Each report will display in a separate tab.
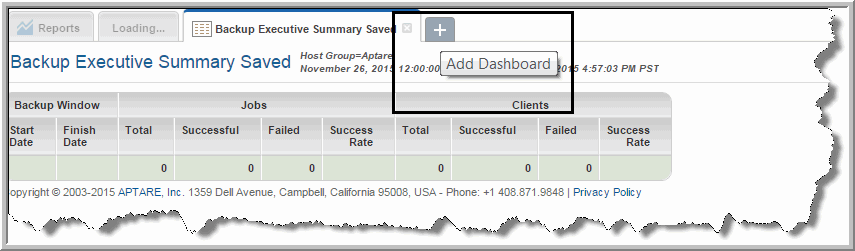
2. Click the
Add Dashboard tab, once all the reports are generated.
3. Click and drag the tab of each report you want to place on the dashboard. You can add an unlimited number of reports to a custom dashboard, but you are limited to four horizontal columns. You can resize row heights at any time using Set Layout.
Note: A report that has been generated as a result of a drill down in another report cannot be saved or added to a dashboard because of the dependency with the parent report.
4. As you drag the report on to the dashboard, areas are highlighted indicating the potential positions of the report. You can change the report’s by location by dragging it to a new position.
5. Click Actions and select Save.
6. Assign a name to the dashboard. The maximum number of characters is 80.
Note: Reports on dashboards are treated as stand-alone instances and are not linked to the original report. For example, when a name or scope change is made in the original report, those changes are not reflected in the dashboard version.