Setting Attribute Values in the Inventory List View
You can select different attribute values or remove them entirely in the Inventory List view. You can do this on an individual object or on a set of objects. These instructions cover how to modify attributes in bulk.
To remove attribute values on objects in bulk
1. Select
Inventory.

2. Toggle to the Inventory List view.
3. Enter your filter criteria to find your target set of objects.
4. Navigate to and select the objects to manage. You can select all the objects on a page by clicking the checkbox on the top of the management page. Note that only the objects displayed on a single page are selected.
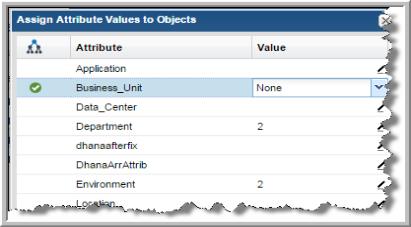
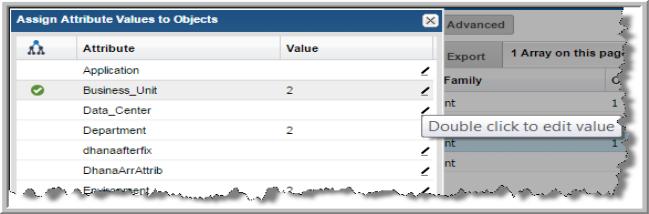
5. Click Attributes. The Assign Attribute Values to Objects dialog allows you to set or modify attribute values for all the objects selected.
6. In the Assign Attribute Values to Objects dialog, double-click an attribute to set an attribute value. If different attributes’ values are set for the selected hosts, the value displays Multiple Values.
7. Click the
Value field beside the attribute you want to remove. The field is activated.
8. Select
None to remove the value. If you selected multiple objects, the attribute is removed from all your selections. You can remove multiple attributes and values at once.