Field | Description |
Collector Domain | The domain of the collector to which the collector backup policy is being added. This is a read-only field. By default, the domain for a new policy will be the same as the domain for the collector. This field is set when you add a collector. |
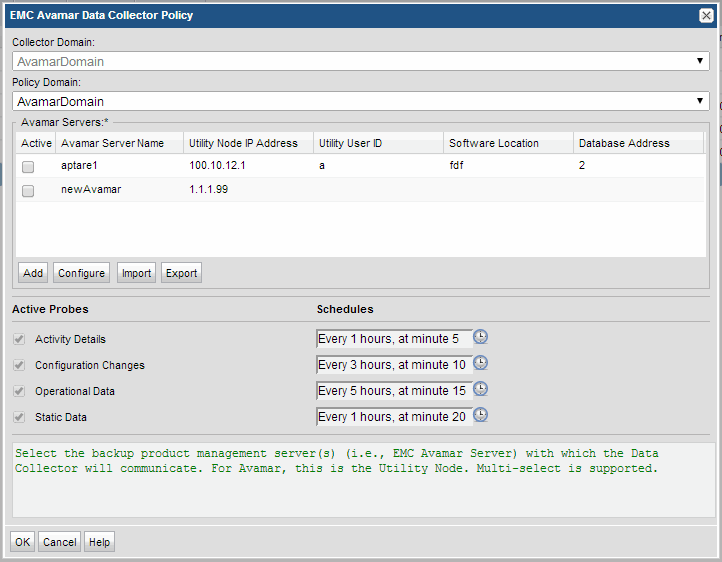
Policy Domain | The Collector Domain is the domain that was supplied during the Data Collector installation process. The Policy Domain is the domain of the policy being configured for the Data Collector. The Policy Domain must be set to the same value as the Collector Domain. The domain identifies the top level of your host group hierarchy. All newly discovered hosts are added to the root host group associated with the Policy Domain. Typically, only one Policy Domain will be available in the drop-down list. If you are a Managed Services Provider, each of your customers will have a unique domain with its own host group hierarchy. To find your Domain name select Admin > Hosts and Domains > Domains. |
Avamar Servers* | You can add Avamar servers by clicking Add. You can also import multiple servers using a .CSV file. The Host Management page also allows you import multiple servers using a .CSV file. The Avamar Servers table is populated using any of these methods. The servers added to this table using EMC Avamar Data Collector Policy screen are also displayed under Host Management and Host Group Administration. You must indicate which servers are active. |
Active | Click Active to indicate the Avamar server(s) to use in the data collection policy. For Avamar, this is the Utility Node. If additional fields must be configured, the Configure Server dialog is automatically displayed when you make your selection. To manage an Avamar Server, navigate to Hosts and Domains>Hosts and Host Groups. On the Host Group Administration page, use Search to locate the Avamar server to manage. |
Add | Click Add to add an Avamar server type. The added servers are also displayed under Host Management and Host Group Administration. Note: Data Collector policies can be in place for multiple servers, but a server cannot have multiple policies. |
Configure | Click Configure to revise or add information to the Avamar server you selected. See also Adding/Configuring an Avamar Server within the Data Collector Policy Window. |
Import | Click Import to browse for the CSV file in which you entered the Avamar server configuration details. See also Importing EMC Avamar Server Information. |
Export | Click Export to create and download a comma-separated values (CSV) file containing all the server information listed in the Avamar Servers table. See also Exporting EMC Avamar Server Information. |
Active Probes | Click the clock icon to set a schedule frequency. You can schedule the collection frequency by minute, hour, day, week and month. Advanced use of native CRON strings is also available. You can set a schedule to collect on: • Activity Details • Configuration Changes • Operational Data • Static Data Note: Explicit schedules set for a Collector policy are relative to the time on the Collector server. Schedules with frequencies are relative to the time that the Data Collector was restarted. |