Assigning User Privileges
You can assign users many different privileges, such as enabling access to specific reports and authorizing administrative configuration features. In some cases, especially administration, access privileges are driven by corporate policies.
See also:
To assign privileges to an individual user
1. Select Admin > Users > Users and Privileges. The window displays all Portal users.
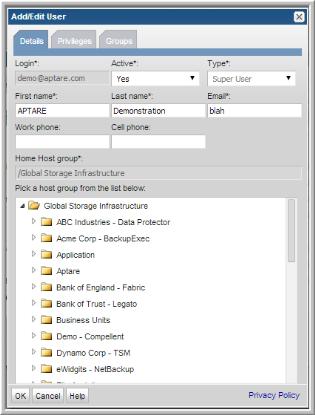
2. Double-click the user name to which you want to assign privileges. The Add/Edit User window displays the user’s profile.
3. Assign a Home host group by clicking a checkbox next to a host group. The home host group determines the level for which reporting data will be gathered. A user can access any data for that host group and its children.
4. Assign the user privileges:
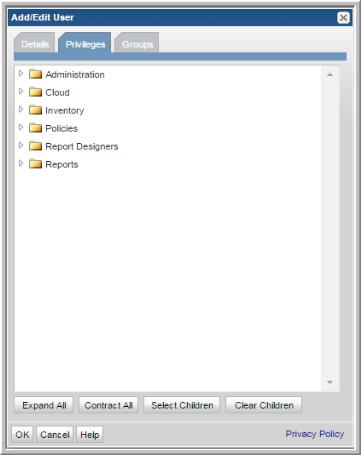
a Click the Privileges tab.
b Click the arrow beside the appropriate privilege folder to expand it. Or, click the
Expand All button at the bottom of the window. See
User Privileges.
c Individually select the check boxes that correspond to the required privileges or select all entries in a folder by following the procedure described in
Enabling All Privileges in a Category.
5. Click OK.
To assign privileges to a User Group
1. Select
Admin >
Users >
User Groups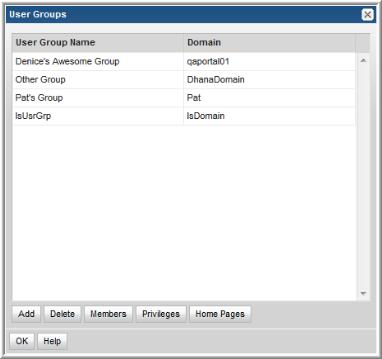
2. Select a User Group Name.
3. Click Privileges.
a Click the arrow beside the appropriate privilege folder to expand it. Or, click the
Expand All button at the bottom of the window. See
User Privileges.
b Individually select the check boxes that correspond to the required privileges or select all entries in a folder by following the procedure described in
Enabling All Privileges in a Category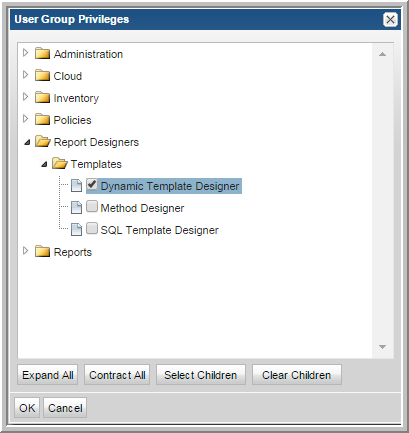
.
4. Click OK.